How To Install Patio Door Without Nailing Flange (10 Steps Guideline)
Installing a patio door is an exciting home improvement project that can enhance the beauty and functionality of your living space. While traditional patio doors often come with a nailing flange for easy installation, there are instances where you may need to install a patio door without a nailing flange.
This article will provide you with a step-by-step guide on how to accomplish this task. Please note that this method requires careful planning and precise execution to ensure a secure and weather-tight installation.

The Complete Process of Flangeless Patio Door Installation
Before you begin the installation process for a patio door without a nailing flange, it is essential to make adequate preparations and gather the necessary tools. This will ensure a smooth and efficient installation.
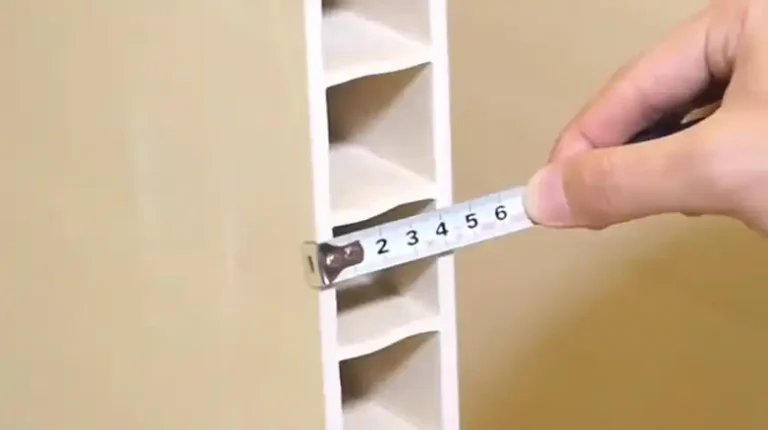
Start by measuring the dimensions of the door opening to ensure that the new patio door will fit properly. Remove any existing trim or molding around the opening to create a clear workspace. Gather the required tools, including a tape measure, level, drill, screws or fasteners, shims, silicone sealant, caulk gun, and a pry bar or crowbar.
In this section, we will provide a detailed guide on how to install a patio door without a nailing flange, ensuring a secure and well-sealed installation.
Step 1: Position the Patio Door
Carefully position the patio door frame in the opening, ensuring that it fits snugly and aligns properly. Use shims if necessary to make any adjustments for a level and plumb installation.
Step 2: Secure the Installation Brackets or Clips
To secure the patio door frame without a nailing flange, you will need installation brackets or clips designed for this purpose. Place the brackets or clips at predetermined locations, following the manufacturer’s instructions and recommendations.
Step 3: Drill Pilot Holes
Using a drill, create pilot holes in the door frame and into the surrounding wall or studs. The size of the pilot holes should correspond to the type and size of screws or fasteners recommended by the manufacturer.
Step 4: Attach the Brackets or Clips
With the pilot holes prepared, attach the installation brackets or clips to the frame using the appropriate screws or fasteners. Make sure they are securely fastened but avoid over-tightening, as this could potentially damage the door frame.
Step 5: Secure the Frame
Once the brackets or clips are in place, carefully lift and position the door frame again, aligning it with the brackets or clips. Insert screws through the brackets or clips into the pilot holes and tighten them to secure the frame. Repeat this process for all the brackets or clips, ensuring that the frame is evenly supported and stabilized.
Step 6: Check for Squareness and Level
After securing the frame, check for the squareness and levelness of the patio door. Use a level to ensure that the frame is perfectly vertically and horizontally level. Adjust the shims as necessary to achieve the desired alignment.
Step 7: Inspect and Adjust
Thoroughly inspect the patio door installation to ensure everything is properly aligned and securely fastened. Double-check the frame’s stability, making any necessary adjustments to the brackets, clips, or shims to achieve a secure and stable installation.
Step 8: Test the Operation
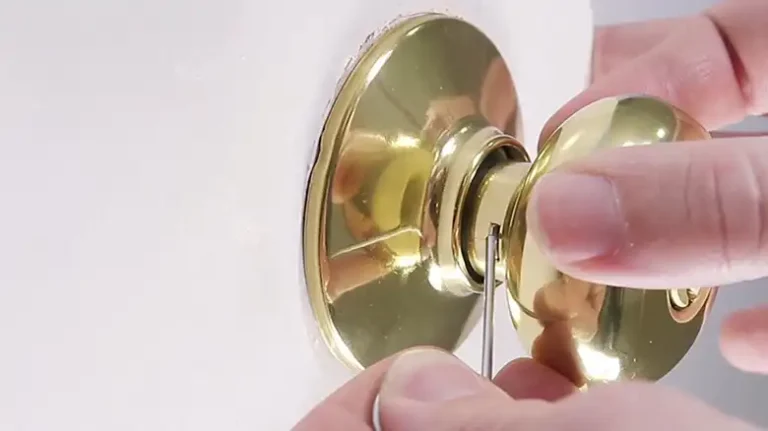
Once the patio door is installed, test its operation. Open and close the door to ensure smooth movement and proper functionality. Check the locking mechanism to ensure it engages and secures the door effectively.
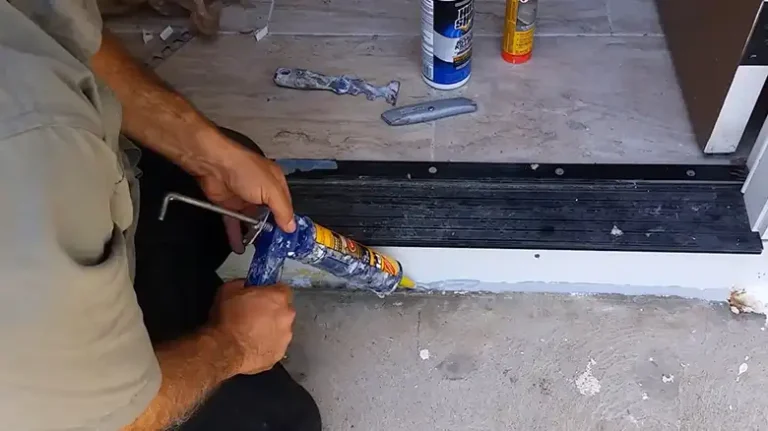
Step 9: Apply Sealant
To enhance the weatherproofing of the patio door installation, apply a high-quality silicone sealant around the edges of the door frame. This will help to seal any gaps and prevent water infiltration. Smooth the sealant using a caulk tool for a neat and professional finish.
Step 10: Final Inspections
Perform a final inspection of the patio door installation to ensure everything meets your satisfaction. Check for any visible gaps, ensure all screws or fasteners are tightened, and clean off any excess sealant or debris.
By following these step-by-step instructions, you can successfully install a patio door without a nailing flange. Remember to consult the manufacturer’s guidelines and recommendations specific to your patio door model to ensure a proper and secure installation.
FAQs – Frequently Asked Questions and Answers
What are the benefits of installing a patio door without a nailing flange?
Installing a patio door without a nailing flange offers a more seamless and aesthetically pleasing appearance as it eliminates the need for exterior finishes to be disrupted.
Can I perform a retrofit installation myself, or do I need professional help?
While it is possible to perform a retrofit installation yourself, it is recommended to seek professional help, especially if you lack experience or knowledge in door installations.
Is a retrofit installation as secure as a traditional installation with a nailing flange?
Yes, when properly executed, a retrofit installation can be just as secure as a traditional installation with a nailing flange.
Can a patio door be retrofitted in any type of wall construction?
Yes, a patio door can be retrofitted in various types of wall construction, including wood, brick, and stucco. However, the specific techniques may vary depending on the wall material.
Conclusion
Installing a patio door without a nailing flange requires careful planning and execution. By following this step-by-step guide, you can successfully install a patio door that is secure, weather-tight, and aesthetically pleasing. Remember to take accurate measurements, make necessary adjustments, and properly seal the door to ensure a professional-looking installation.
![[Just 5 Steps] How to Measure for a Security Door?](https://doorsuggest.com/wp-content/uploads/2023/10/How-to-Measure-for-a-Security-Door-768x431.webp)